Battery switch on travel trailer function is crucial for managing your RV’s power. Understanding how to use it properly ensures safe and efficient power distribution between your house batteries and your tow vehicle. This guide covers everything from the different types of switches available to troubleshooting common problems and essential maintenance tips. We’ll make sure you’re confident in handling your travel trailer’s electrical system.
We’ll walk you through the basics of battery switch operation, covering safe connection and disconnection procedures, different battery types, and how to integrate your battery switch with other electrical components in your RV. We’ll also tackle troubleshooting common issues like dead batteries and low voltage, providing solutions to get you back on the road quickly.
Battery Switch and Electrical System Integration
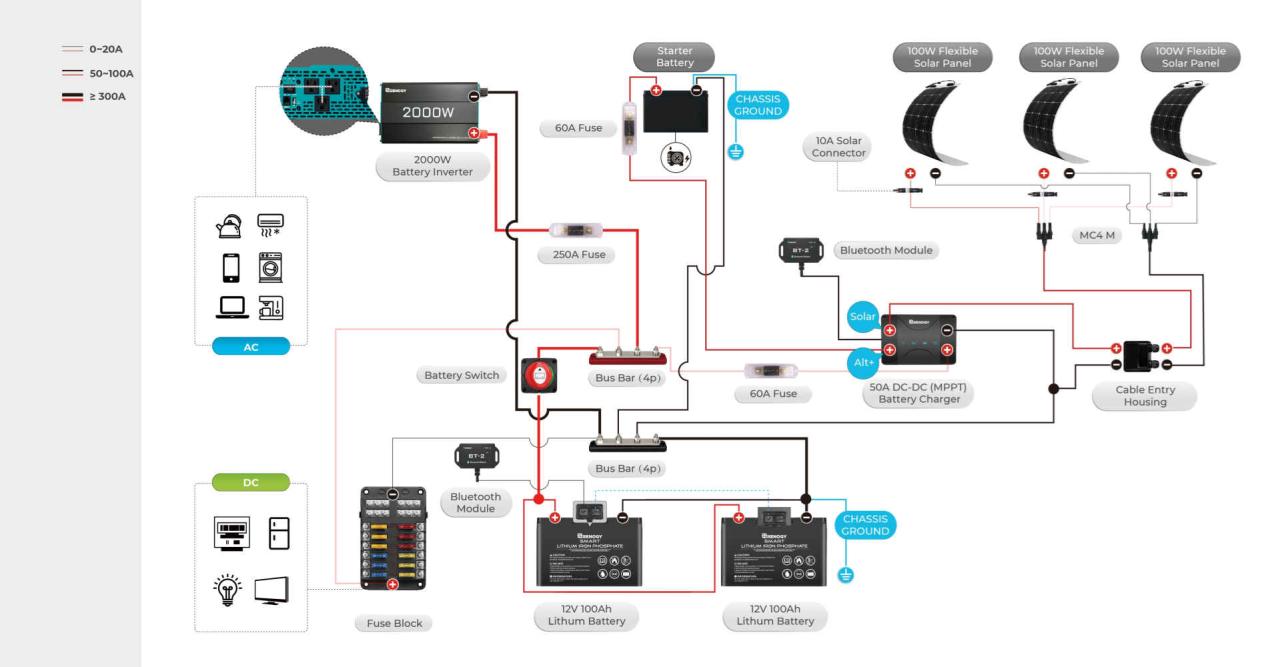
The battery switch is the central control point for your travel trailer’s 12-volt DC system, acting as a gatekeeper for power flow from your house batteries to various components. Understanding its interaction with other electrical parts is key to efficient and safe RV operation. This section will detail how the battery switch works with the converter, inverter, and manages power distribution between your trailer and your tow vehicle.
The battery switch works in conjunction with several key components in your travel trailer’s electrical system. The converter, for example, transforms 120-volt AC power from a campground hookup (or generator) into 12-volt DC power to charge your house batteries. The battery switch allows you to disconnect the batteries from the converter when not in use, preventing battery drain. Conversely, the inverter converts 12-volt DC power from your batteries into 120-volt AC power for running appliances that require AC, such as microwaves or air conditioners.
The battery switch controls the power supply to the inverter, ensuring you don’t accidentally drain your batteries while running AC-powered devices.
Power Distribution Between House Batteries and Tow Vehicle
The battery switch’s primary role is to manage power distribution. In most setups, the switch allows you to isolate the house batteries from the rest of the trailer’s electrical system. This is crucial for preventing parasitic drain when the trailer isn’t connected to shore power or a generator. When the switch is OFF, the house batteries are completely disconnected, preventing accidental discharge.
When the switch is ON, the batteries power the trailer’s 12-volt DC systems and can also be charged by the tow vehicle’s charging system via a dedicated charging line. This line typically connects to the tow vehicle’s battery and provides a charging current to the trailer batteries while driving.
Electrical System Configurations: With and Without Battery Disconnect Switches
Travel trailers without battery disconnect switches rely on other methods to prevent battery drain. This often involves manually disconnecting the negative terminal of the house battery, which is less convenient and can be more prone to accidental connection. These trailers are more vulnerable to complete battery discharge if a small current draw is present over an extended period, like from a poorly installed or faulty device.
So, you’re an audiophile who loves to travel? Awesome! Check out this guide on audiophile travel setups to make sure your listening experience stays top-notch on the road. Then, if you’re hitting the road in an RV, understanding your battery switch on travel trailer function is crucial for keeping your devices powered up. Knowing how to manage your power is just as important as having great headphones!
Conversely, trailers with battery disconnect switches offer a more convenient and safer way to manage power. The switch acts as a simple on/off mechanism, providing clear control over power flow to the house batteries and preventing unintended drain. This is especially important for long-term storage, where complete battery isolation is crucial.
Power Flow Diagram
The following describes a simplified illustration of power flow in a travel trailer equipped with a battery switch. Imagine a diagram with several boxes connected by arrows.
Box 1: House Batteries. This is the source of 12V DC power. An arrow points from this box to…
Box 2: Battery Switch. This is the on/off switch controlling power flow. The arrow from Box 1 leads to Box 2. When the switch is ON, an arrow continues from Box 2 to…
Box 3: 12V DC System (Lights, Water Pump, etc.). Power flows directly to these appliances when the switch is ON. An arrow from Box 2 leads to Box 3. Also, when the switch is ON, an arrow continues from Box 2 to…
Box 4: Converter. This changes 120V AC to 12V DC to charge the batteries. An arrow from Box 2 leads to Box 4 (only when the switch is ON, and AC power is available). And another arrow leads from Box 4 to Box 1 (charging the batteries). When the switch is ON, another arrow leads from Box 2 to…
So, you’re an audiophile who loves to travel? Awesome! Check out this guide on creating the perfect audiophile travel setup to ensure your tunes sound amazing wherever you go. Knowing how to manage your power is key too, especially if you’re hitting the road in an RV. Understanding the battery switch on travel trailer function is crucial for keeping your lights on and your music playing.
It’s all about balancing quality sound with practical travel considerations!
Box 5: Inverter. This converts 12V DC to 120V AC for appliances. An arrow from Box 2 leads to Box
5. An arrow leads from Box 5 to Box 6: 120V AC System (Microwave, Air Conditioner, etc.).
The diagram clearly shows how the battery switch controls the flow of power from the batteries to the rest of the trailer’s electrical system. When OFF, all arrows from Box 2 are effectively cut, protecting the batteries.
Maintenance and Safety Procedures: Battery Switch On Travel Trailer Function

Keeping your travel trailer’s battery switch in top condition is crucial for reliable power and safety. Regular maintenance prevents costly repairs and ensures you’re always ready for the road. Neglecting this simple system can lead to frustrating breakdowns and, in worse cases, dangerous situations.Proper maintenance of your battery switch involves regular inspection and cleaning of connections, ensuring all bolts are tight and corrosion-free.
This prevents voltage drops, overheating, and potential fire hazards. A well-maintained system also extends the lifespan of your batteries, saving you money in the long run.
Battery Switch Inspection and Cleaning, Battery switch on travel trailer function
Regular visual inspections are key to identifying potential problems early. Look for signs of corrosion on the terminals, loose connections, or any damage to the switch itself. Use a wire brush or a specialized contact cleaner to remove any corrosion buildup. Make sure to disconnect the battery before cleaning to avoid accidental short circuits. After cleaning, apply a dielectric grease to the terminals to prevent future corrosion.
This grease helps repel moisture and prevents the formation of an electrical path between the terminals. A visual inspection should be part of every pre-trip checklist.
Preventative Maintenance Schedule
A simple preventative maintenance schedule can greatly extend the life of your battery switch. We recommend the following:
- Monthly Inspection: Visually inspect the battery switch and connections for corrosion, loose connections, or damage. Tighten any loose bolts.
- Semi-Annual Cleaning: Thoroughly clean the battery switch terminals and connections with a wire brush and contact cleaner. Apply dielectric grease after cleaning.
- Annual Inspection and Testing: Conduct a more thorough inspection, including checking the switch’s operation and testing the connections with a multimeter to ensure proper voltage. If you’re not comfortable doing this, consult a qualified RV technician.
Following this schedule helps you catch small problems before they become major issues, potentially saving you from unexpected roadside repairs.
Potential Hazards of Improper Operation and Maintenance
Ignoring maintenance can lead to several serious hazards. Corrosion on the terminals can create high resistance, leading to overheating and potentially a fire. Loose connections can cause intermittent power, leading to malfunctioning appliances or even damage to sensitive electronics. Incorrect operation of the switch, such as accidentally shorting the terminals, can also cause a fire or battery damage.
In extreme cases, a faulty battery switch could lead to a complete electrical system failure, leaving you stranded. Remember, safety should always be your top priority.
Mastering your travel trailer’s battery switch is key to a smooth and safe RVing experience. By understanding its function, performing regular maintenance, and knowing how to troubleshoot common problems, you’ll avoid frustrating breakdowns and ensure your electrical system remains reliable. Remember safety first – always disconnect batteries before performing any maintenance or repairs. Happy travels!
FAQ Summary
What happens if I leave my battery switch in the “off” position for an extended period?
Leaving the switch off prevents battery drain from parasitic loads (small constant drains from things like clocks and detectors). However, you’ll lose access to power for appliances and devices inside the trailer.
Can I use any type of battery with my travel trailer?
Not necessarily. Your trailer’s electrical system might have specific requirements. Check your owner’s manual or consult a professional to determine the best battery type for your setup. Some systems aren’t compatible with Lithium batteries.
How often should I inspect my battery switch and connections?
At least every three months, or before each trip. Look for corrosion, loose connections, or any signs of damage.
My battery switch is corroded. How do I clean it?
Use a wire brush and baking soda paste to clean the terminals. After cleaning, apply a corrosion inhibitor or dielectric grease to prevent future corrosion.
